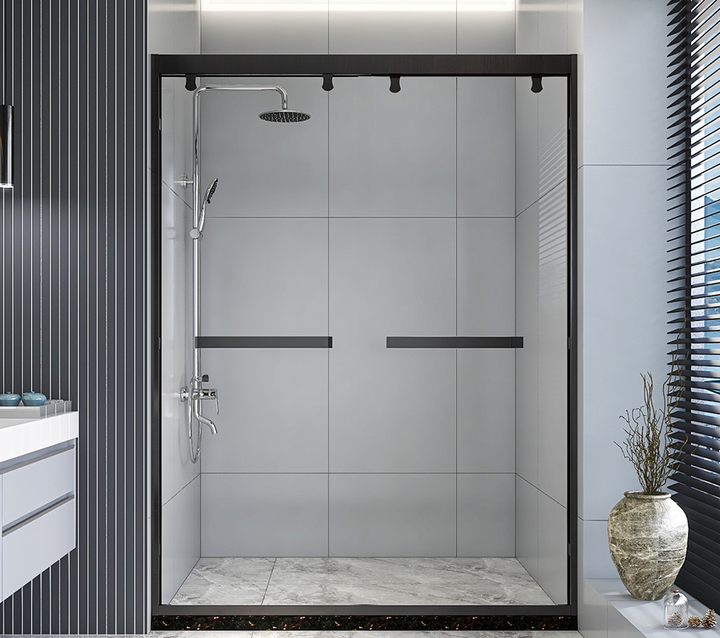
How to Install a Shower Door
Share
Installing a shower door can be a rewarding DIY project that enhances the look and functionality of your bathroom. Follow these steps to ensure a smooth installation process.
Materials and Tools Needed:
- Shower door kit
- Measuring tape
- Level
- Drill with appropriate bits
- Screwdriver
- Silicone sealant
- Masking tape
- Pencil or marker
- Safety glasses and gloves
Step-by-Step Instructions:
-
Preparation and Measurement
- Read the Instructions: Start by reading the manufacturer's instructions that come with your shower door kit.
- Measure the Opening: Measure the width and height of the shower opening at the top, middle, and bottom. Use the smallest measurement to ensure a proper fit.
- Gather Materials: Ensure you have all the necessary tools and materials ready.
-
Install the Bottom Track
- Cut the Track: If necessary, cut the bottom track to fit the width of the shower opening using a hacksaw.
- Position the Track: Place the bottom track on the shower threshold and ensure it is centered and level.
- Secure the Track: Apply a bead of silicone sealant along the bottom edge of the track to secure it in place. Use masking tape to hold it until the silicone cures.
-
Install the Side Tracks
- Mark the Drill Holes: Hold the side tracks against the shower walls, ensuring they are plumb. Mark the drill holes with a pencil.
- Drill the Holes: Use a drill with a tile bit to make the holes at the marked locations. Insert wall anchors if required.
- Attach the Side Tracks: Secure the side tracks to the wall with screws, making sure they are level and plumb.
-
Install the Top Track
- Cut the Top Track: Cut the top track to fit between the side tracks.
- Attach the Top Track: Snap or screw the top track into place according to the manufacturer's instructions.
-
Hang the Doors
- Prepare the Doors: Attach the rollers or hinges to the shower doors as per the manufacturer's instructions.
- Hang the Doors: Lift the doors and place them onto the tracks. Adjust the rollers or hinges to ensure the doors slide smoothly and are properly aligned.
-
Install the Handle and Seals
- Attach the Handle: Install the handle or knobs on the shower door as per the instructions.
- Apply Seals: Attach any provided seals or sweeps to the edges of the doors to prevent water leakage.
-
Finishing Touches
- Apply Silicone Sealant: Apply a bead of silicone sealant along the edges of the side tracks and bottom track where they meet the walls and shower threshold. This helps prevent water from seeping through.
- Clean Up: Remove any excess silicone with a damp cloth before it dries.
- Let It Cure: Allow the silicone sealant to cure for at least 24 hours before using the shower.
Tips and Warnings:
- Safety First: Always wear safety glasses and gloves to protect yourself during installation.
- Check for Level: Continuously check that tracks and doors are level and plumb to ensure proper operation.
- Follow Manufacturer's Instructions: Always refer to the specific instructions provided with your shower door kit for any unique installation steps.
By following these steps, you can successfully install a shower door and enhance the look and functionality of your bathroom. Enjoy your new shower door!